Intro
Ethereum 2.0 is the upcoming overhaul to the Ethereum blockchain protocol that will bring with it proof-of-stake (to provide more security) and sharding (to provide more scaling). It is being released in at least 3 “phases”, labeled Phase 0 through Phase 2. It is anticipated that during Q3-Q4 of 2020 it will be launching Phase 0 of the upgrade that will deploy the “beacon chain”. The beacon chain, among other things, is meant to act as a coordinator between the different actors participating to secure the Eth 2.0 network. I wanted to join an Eth 2.0 Phase 0 testnet to help and get experience running a node. This article is going to detail the hardware and software set-up I went through to become an Eth 2.0 validator on the Topaz testnet.
What is Topaz and DAppnode?
There are multiple Eth 2.0 client implementations and testnets, but the most popular Eth 2.0 testnet currently is called Topaz from Prysmatic Labs running on their Prysm client. DAppnode is the name of a company that sells pre-built computers loaded with their DAppnode operating system software. Their OS software is free and open-source so anyone can take it and install it on their own hardware, provided it is compatible.
Choosing the Hardware
Prysmatic Labs made a blog post announcing the Topaz testnet and listing system requirements.

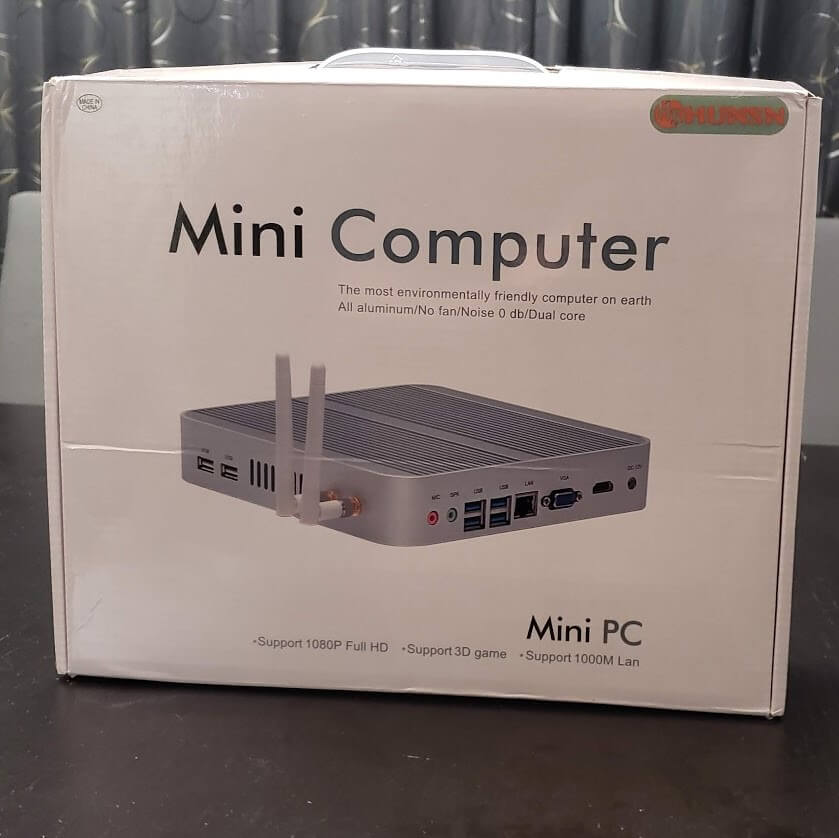
I wanted to do more than just run a Prysm validator on the node because DAppnode had a lot of “packages”, such as Eth 1.0 clients and Zcash, that I could install in addition to the Eth 2.0 client. I would probably need a mid-range machine with a lot of hard drive space (for the blockchains I would be running on them) to accomplish this. I wanted a machine that wouldn’t make a lot of noise and I had never owned a fanless PC before so I decided to give that a try. I bought:
1 x SanDisk SSD PLUS 2TB Internal SSD - SATA III 6 Gb/s, 2.5"/7mm, Up to 535 MB/s - SDSSDA-2T00-G26

1 x CORSAIR VENGEANCE SODIMM 16GB (2x8GB) DDR4 2666 C18 Laptop Memory Kit

1 x 4K Fanless Mini PC, Intel Quad Core I7 8565U,(Black),[HUNSN BM14],[WiFi/1DP/1HDMI/4USB3.0/4USB2.0/1LAN](Barebone System)
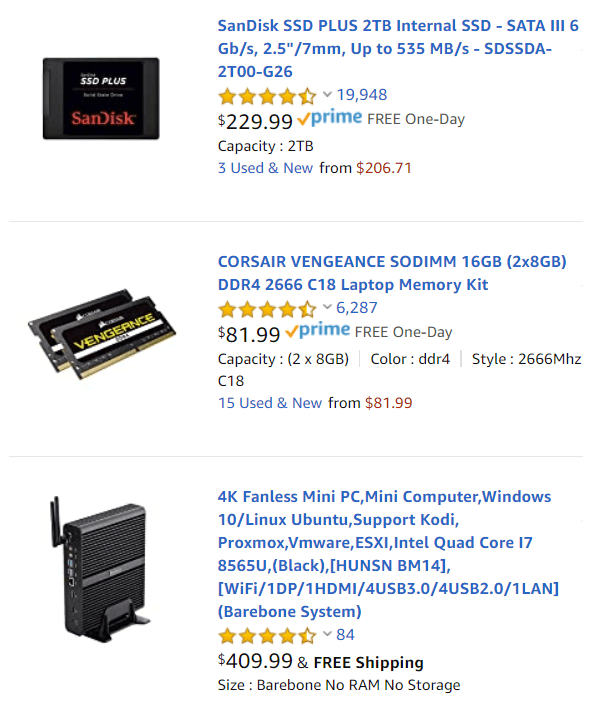
The solid state drive (SSD) was $219.99, the RAM was $82.99, and the processor/case/motherboard/power supply combo was $409.99. All together the price of the entire system came to $712.97 before tax. On reflection, I probably could have saved money buying an i5 processor instead of an i7 and buying 8GB of RAM rather than 16GB, but I wasn’t sure exactly the computing requirements of the other DAppnode packages. I imagine you could easily bring this price down to under $500.
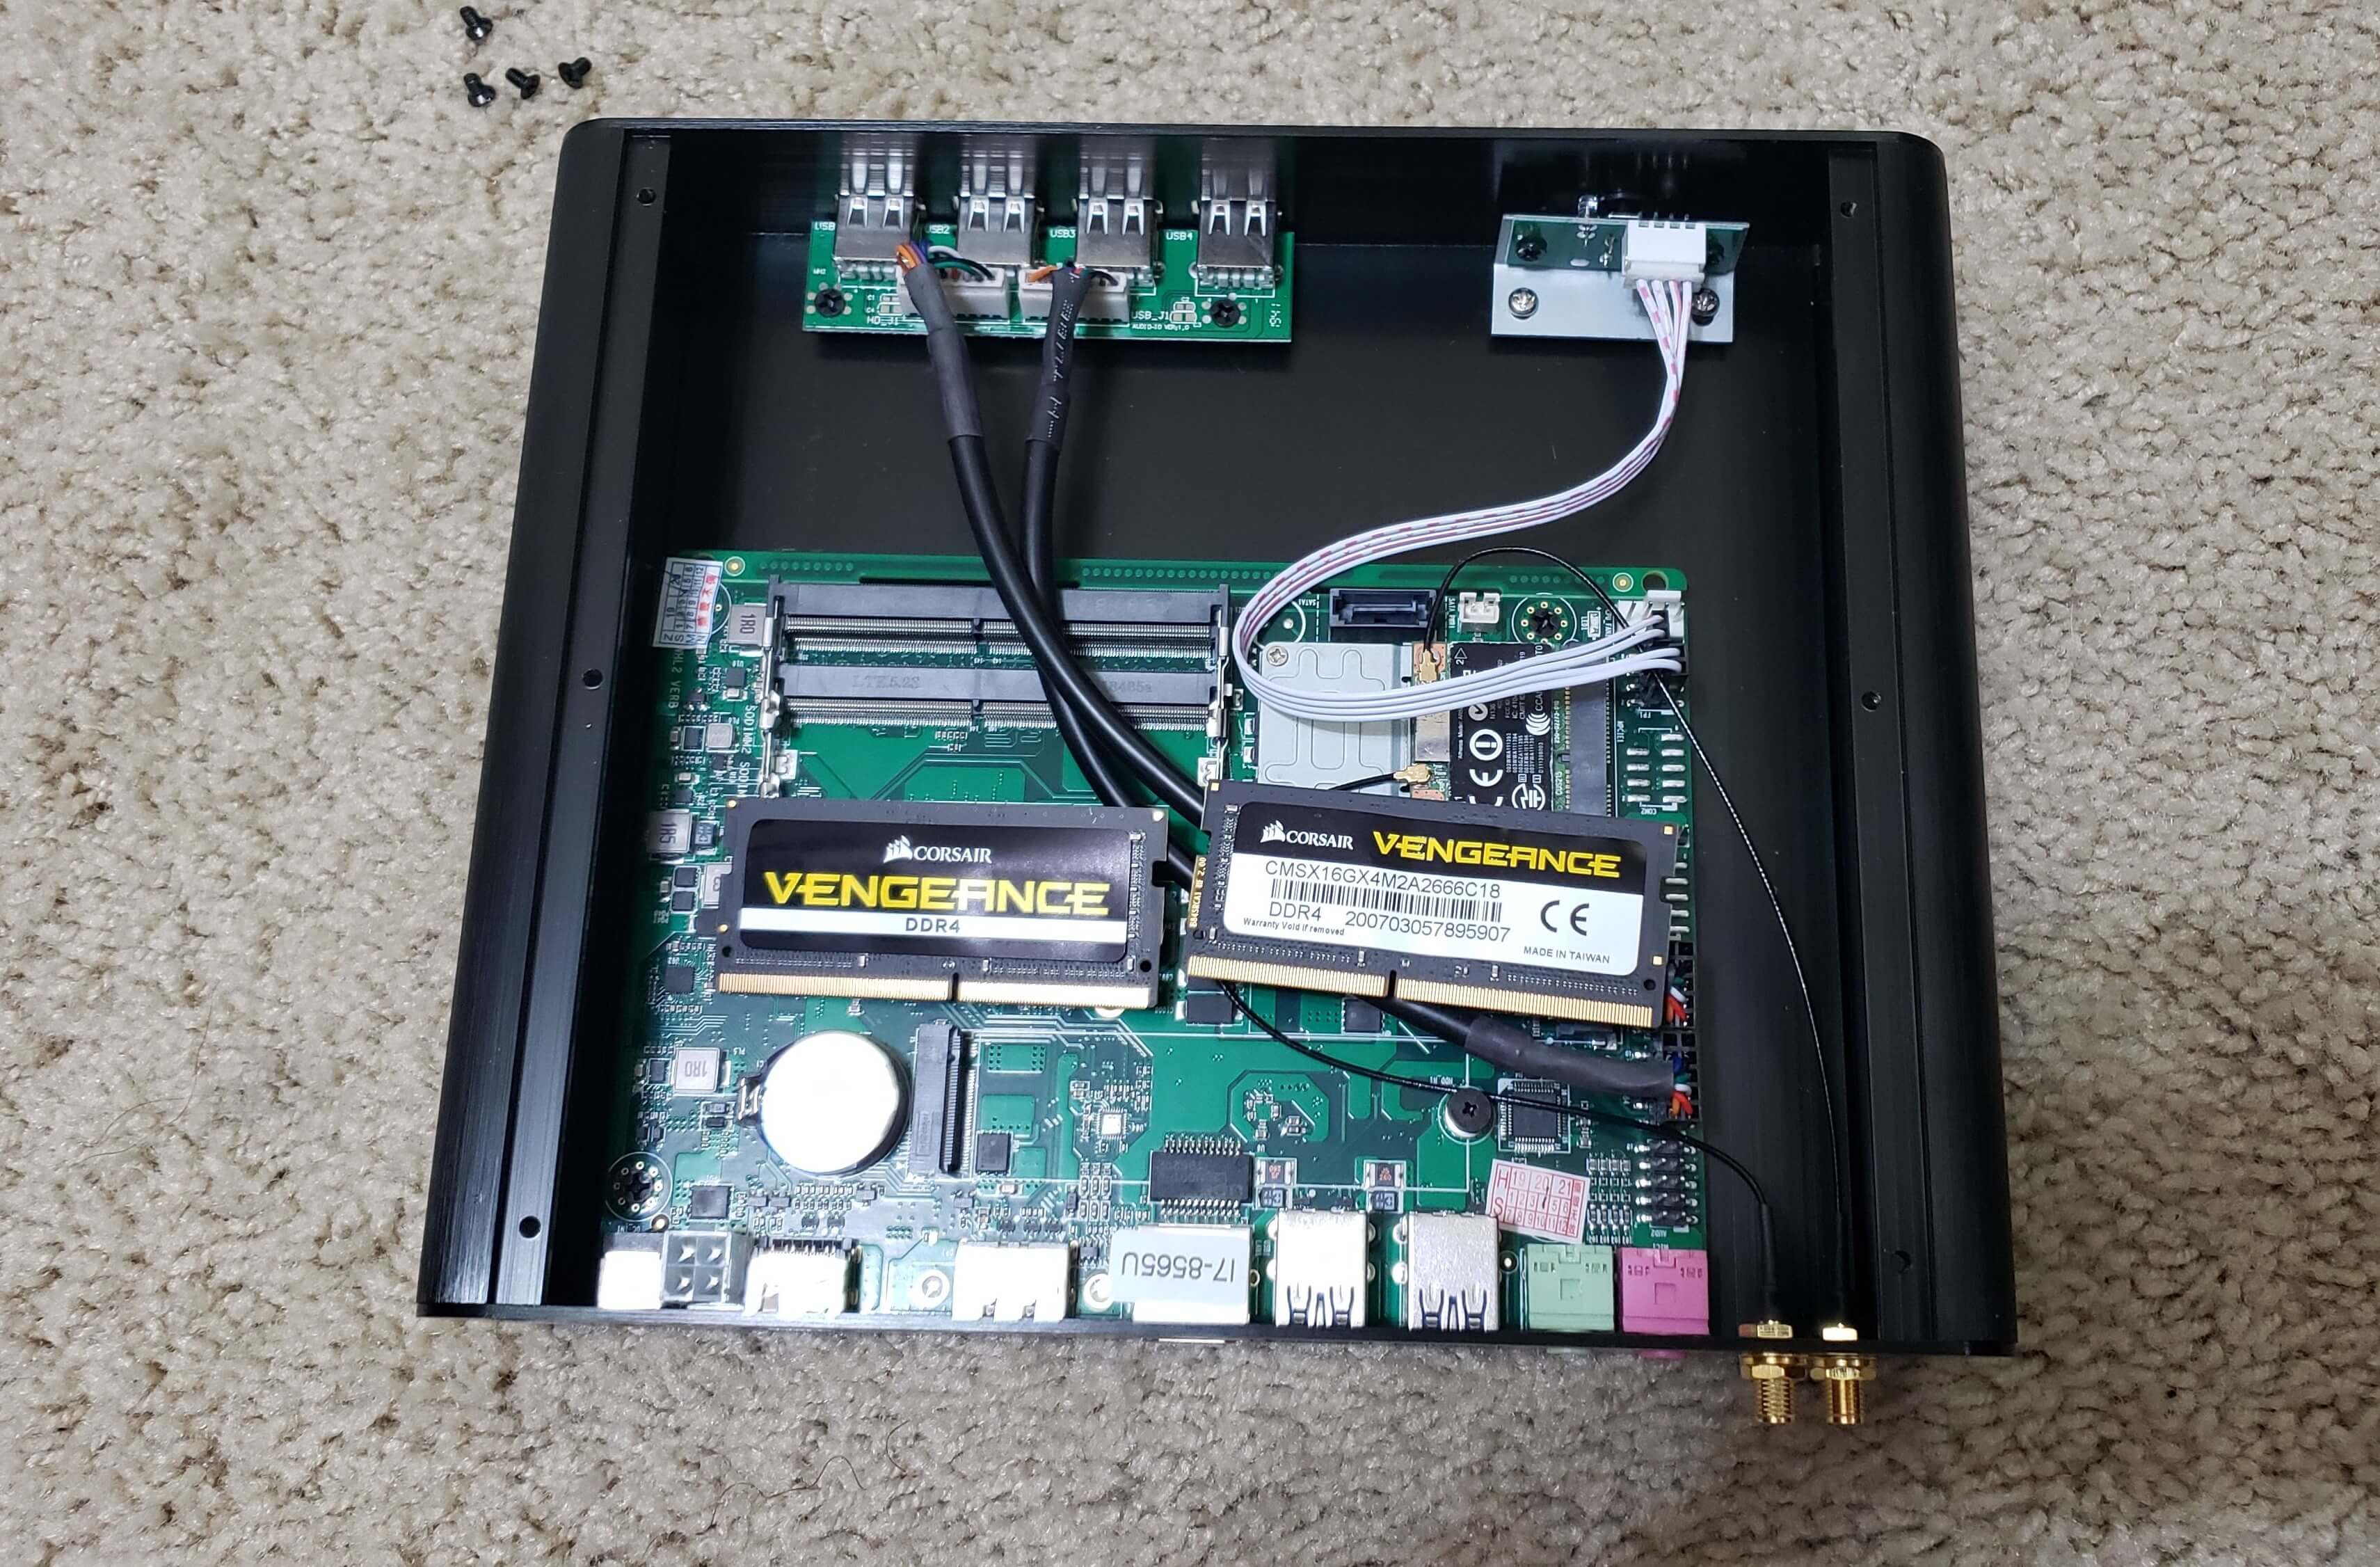
The reasons I chose to buy a “barebones” mini-PC is that it generally is cheaper to buy the RAM and hard drive separately and put it together yourself. This was absolutely the case in my situation. When buying the hard drive for an Eth 2.0 validator (or even an Eth 1.0 client) it is important to get a solid state drive, either a classic 2.5” SATA drives or the newer internal NVME SSD chips. Both the 2.5” SATA drives and NVME chips were similarly priced, but I was unfamiliar with the NVME chips so I went with the 2.5” drive. I regret this because I learned later than the NVME chips performed better comparatively. Another lesson learned: A fanless system can get VERY HOT. It actually scares me how hot it gets sometimes. I’m afraid it will overheat, or worse, catch fire, lol. Have plans in place to add more fans or thermal paste or something if this happens.
Building
I opened the case to reveal a tight-fitting area with a small ITX motherboard and the room for a single 2.5” SSD. I attached the hard drive, plugged in the SATA cables to the drive, and popped in the RAM. It was really straightforward, but I can imagine it may be difficult for those who don’t have experience building computers. There are many guides online on how to accomplish custom PC building if you decide to take this path and need help.
Installing DAppnode OS
I followed the instructions on DAppnode installation guide GitHub page, using the Etcher USB writing program to copy the DAppnode ISO file to a USB. That USB was then inserted into the new mini-PC and the computer detected it when it turned on.
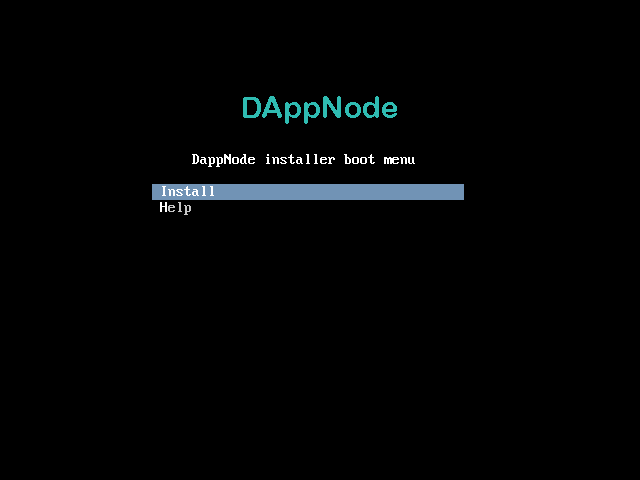
The steps to installing DAppnode were very smooth overall. Here are a few things I wanted to point out about my DAppnode OS installation experience:
- When configuring your disk partitioning, the option to encrypt your disk will come up. Full disk encryption means that your entire system is encrypted so if someone breaks into your house and steals the hard drive from your machine, they cannot get any of the files without first entering a master password. This sounds great, but there are trade-offs. Namely there is a performance hit you take when enabling full disk encryption. This is because files need to be decrypted when they are being read. This is not ideal for software like Ethereum clients because block reads happen a lot. This concern may no longer be relevant because of how far hardware has come along (and someone please correct me if I’m incorrect), but I didn’t want to risk it. Additionally, if your computer loses power and restarts, it will require a password on boot-up which is annoying and costly because you lose money when your validator is offline. I want my system to auto-restart when a power outage happens. I chose not to encrypt the disk, but am very curious to hear any comments from my readers about this.
- After I entered all of the required information throughout the installation and the operating system was fully installed, the machine restarted and allowed me to log-in to a command line interface and run a command to get OpenVPN credentials. The credentials never generated. I tried everything I could think of and finally decided to dig into the system to see what was up. It turns out that even though I successfully logged into my wi-fi network during installation, the credentials had not stuck. I was not connecting to any network at all. The next bullet point talks about how I worked with their support team on this.
- DAppnode has a very responsive support team that has a chat room on Telegram and Riot (they are bridged together). I asked about the issue I was having and they were quick to respond. They recommended that I plug it in with an ethernet cable rather than rely on wi-fi at all. I am fortunate that I have a monitor near my wireless router and switch so I could do that to finish the installation.
- DAppnode doesn’t require you to be physically at the machine and have it connected to a monitor once you finish installing it. It uses OpenVPN to create a virtual connection to the machine. You can install OpenVPN on a separate computer, like a laptop, and log in to your DAppnode’s OpenVPN tunnel to see the DAppnode interface.
Installing Packages
This section is going to be light because of how easy it is to use DAppnode. When you load your DAppnode it shows you a slew of software you can choose to install on your machine. I chose to install the Nethermind Ethereum 1.0 client, the Prysm Eth 2.0 validator client for Topaz, and the Prysm Slasher client for Topaz.
I later installed the Eth2stats Client so my Topaz validator could get a shiny new name and be listed on the Eth2stats validator dashboard.

How to Monitor Your Validator Node
I monitor my validator node using Beaconcha.in by Bitfly and Etherscan.io Beacon Chain explorer. It is also listed on the Eth2stats.io Topaz Dashboard as Hudson's Fun Node.
Conclusion
I plan on running some mainnet staking infrastructure at home and felt participating in the Topaz network was a necessary first step to get my feet wet. When Eth 2.0 Phase 0 launches, I will need to up my game when it comes to building out a robust system that can withstand power and internet outages. Having your validator node go offline is costly if it happens for extended periods of time. I need to buy a new battery backup and create a way for my network connection to failover to a cellular internet connection if my main internet line goes down. Some of this may be overkill, or cost more than the damage that would be done by a short term power/internet outage, but I find it very fun to plan, prepare, and build for these types of scenarios!
Hope you enjoyed reading this!
Posted in Blockchain